Make Your Own Nature and Art Journal
SUGGESTED FOR ALL AGES
(with parent help for early learners and elementary school)
In this activity, you can make your own journal and fill it with art projects based on your surroundings. That could be your house, yard or neighborhood. This project can be done entirely inside your home, but if you can safely participate in this year’s City Nature Challenge, this is a great companion activity. Enjoy making this journal and check out more NHM educational resources.
Scientists and artists alike use journals to record their surroundings, often taking notes about their observations and thoughts, including sketches, found objects, collage and more. Once you create your journal, take a look around and start to fill it with notes, sketches, pressed plants, and paper crafts. Try out these ideas for journal entry projects, or create your own! Any of these projects can be done directly in the journal, or separately and then glued or taped in. Make some notes about your observations and experiences while creating your project.
MAKE A JOURNAL
Materials:
- 8.5”x11” paper (any paper, white or colorful!)
- Thin cardboard (cereal box, etc)
- Hole punch
- Yarn or twine
- Scissors
- Pencil
- Masking Tape
PAPER CRAFT RUBBINGS
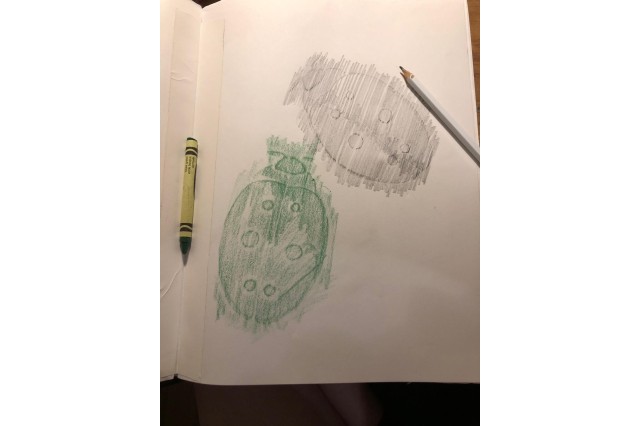
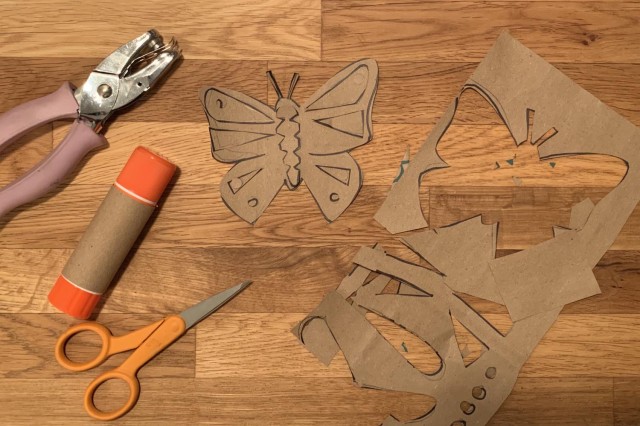
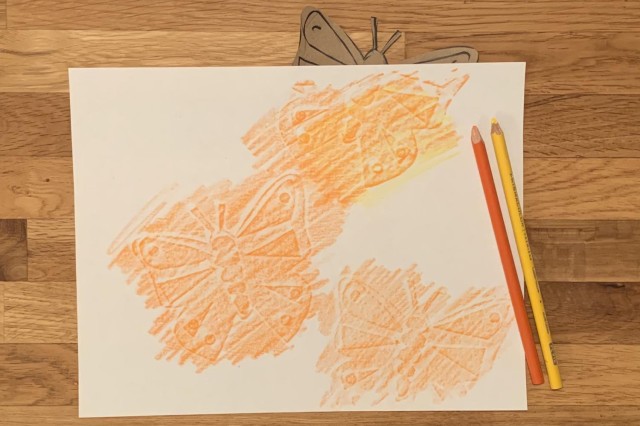
Cut out some paper shapes and glue them together. Place under a page in your journal, or another sheet of paper. Use a pencil, colored pencil or crayon to rub over your design underneath. Try using light pressure, and then gradually build up. Rubbings can also be made over any textured surface, like tree bark or plant cuttings!
Stuck inside? Check out iNaturalist for some great photos and nature inspiration from last year’s City Nature Challenge in L.A.
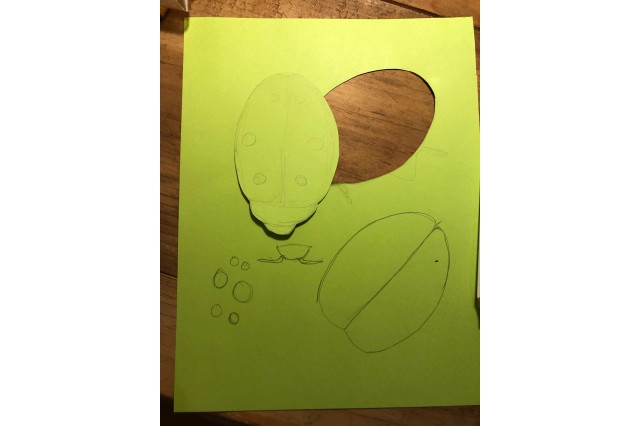
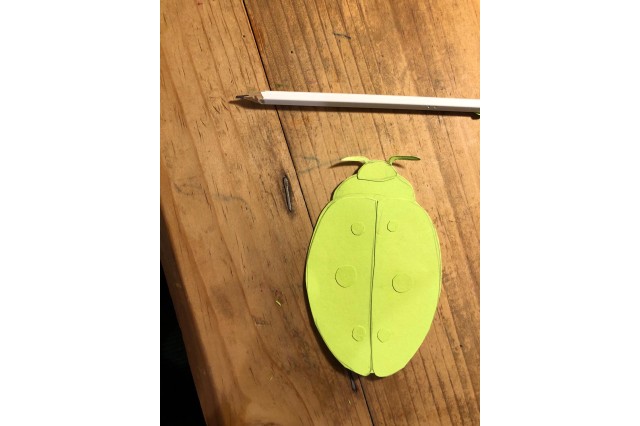
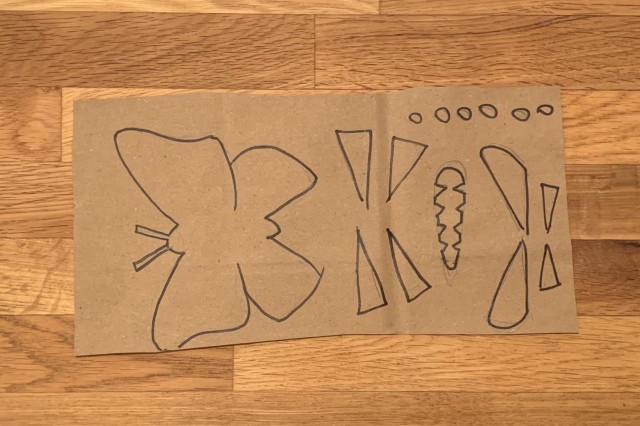
Did you know that one of the most commonly observed insects from last year’s CNC is the convergent lady beetle? Try making this lady beetle on a common mallow leaf, a painted lady butterfly, or your own design!
Materials:
- Heavyweight paper: cardstock, construction paper or paper bags!
- Lightweight paper such as printer paper.
- Scissors (x-acto knife, hole punch optional)
- Pencil, colored pencil, or crayon
- Gluestick or white glue
- Optional hole punch to make dots
Step 1: Cut out some shapes from the heavyweight paper
Step 2: Glue your shapes together in a layered design. The more layered your design, the more detailed the rubbing will be.
Step 3: Place the lightweight paper over your layered paper design and use a pencil, colored pencil or crayon at an angle to rub back and forth…watch the image appear!
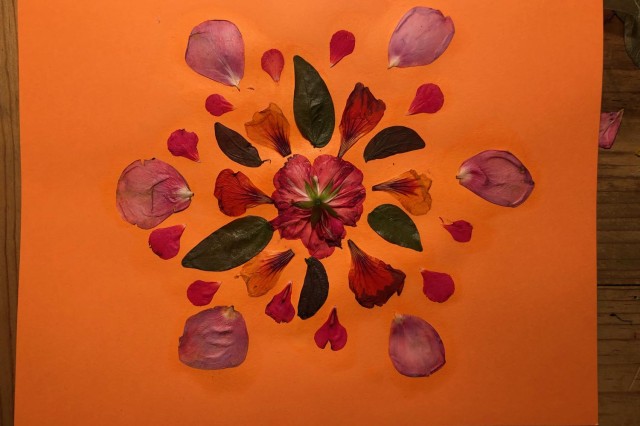
PLANT MANDALA
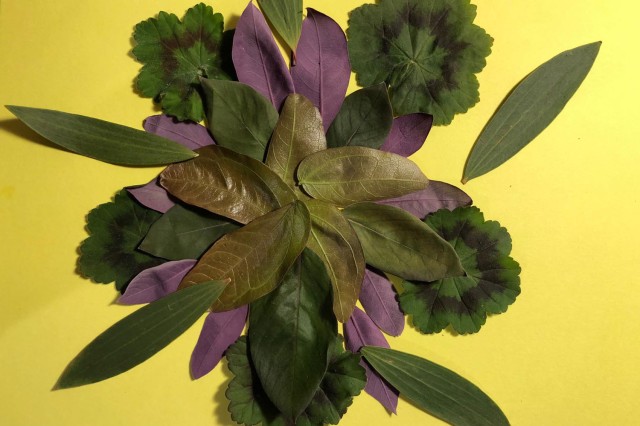
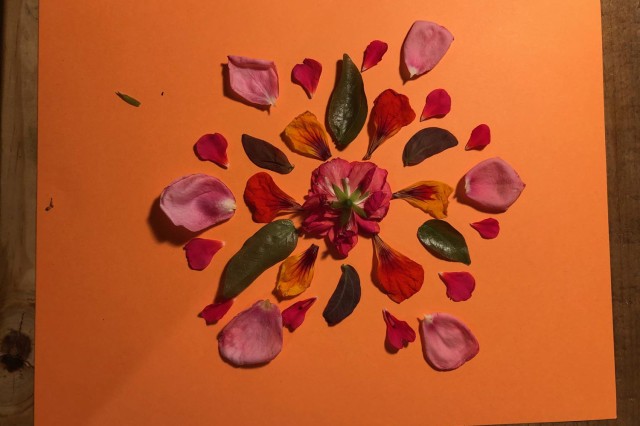
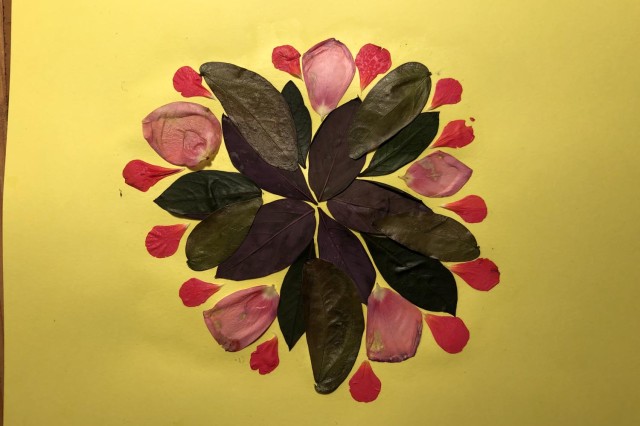
Originally meant to represent wholeness and a model for the organizational structure of life itself. We can create our own by arranging leaves and flowers into a pattern that starts from the center and builds out. Choose healthy looking leaves and flowers from outside, preferably ones that just fell to the ground.
Things to think about when collecting raw plant materials for your project:
- How do these colors work/contrast?
- Is this a plant that can be glued? (Thin petals and leaves are ideal, and succulents/cacti or woody stems don’t work as well)
- Do I have enough of each color/material to create my desired pattern?
Materials:
- Several Sheets of Drawing/Cardstock Paper (any color will do)
- Plant material: flowers, leaves in varying shapes, colors and sizes
- Scissors
- White Glue
- Q-tips or Brushes or your own fingers
- Water
- Small bowl
- Heavy books for plant pressings
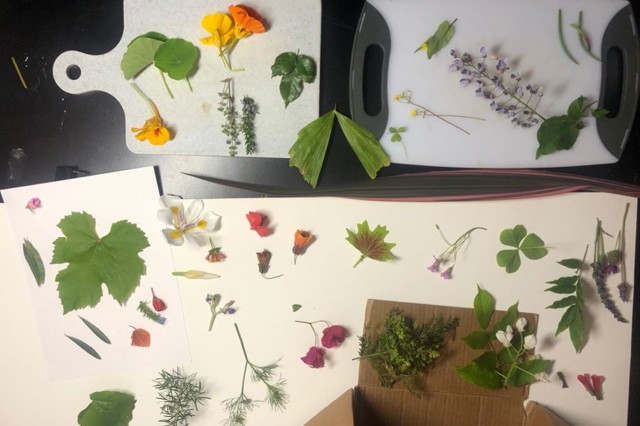
Step 1: Collect your plant materials, whether it be in your garden or neighborhood. Think about the colors you like, the textures and amount you might need.
Step 2: Test out your plants on paper before using any glue, and experiment with how you’d like your design. Once you land on a design, it helps to take a picture to remember how you made it. Here are some examples!
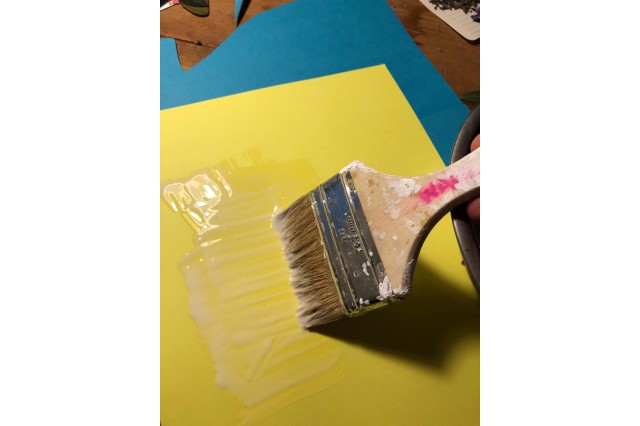
Step 3: Now to glue your design! Mix 2:1 white glue and water. You want the mixture to be of spreading consistency, but not watery. With a brush, q-tips or your fingers, spread the mixture across the paper where your design will be.
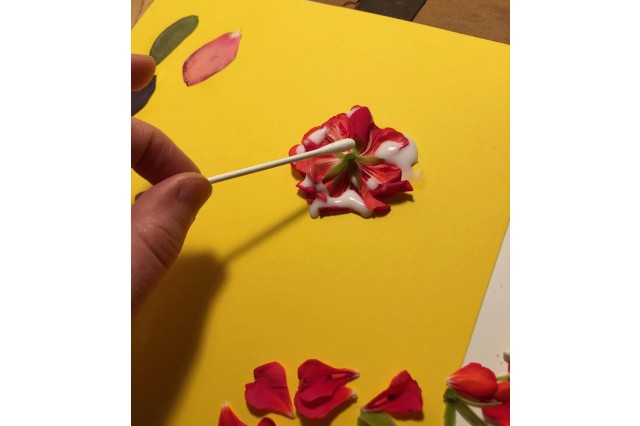
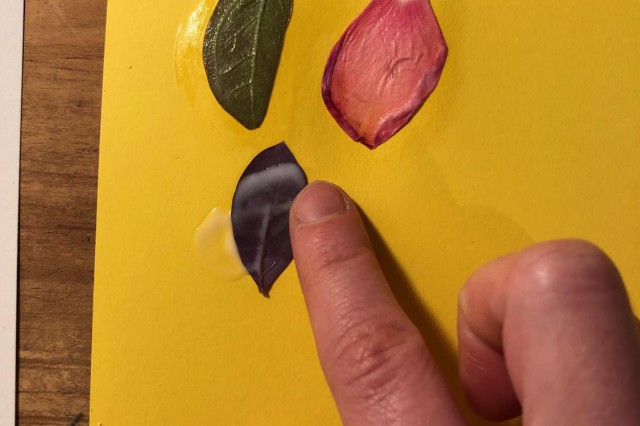
Step 4: After setting your design, take a q-tip or finger with some undiluted white glue and seal the top of each petal, leaf and design element. This helps to seal in the color and keep the whole plant sticking to your paper. A leaf or petal may move as you glue it, so enjoy the flexibility until you are happy with your design.
Step 5: You’ve completed your piece! Let it dry before putting it into your journal. Try out another one! There’s an infinite amount of patterns you can make!
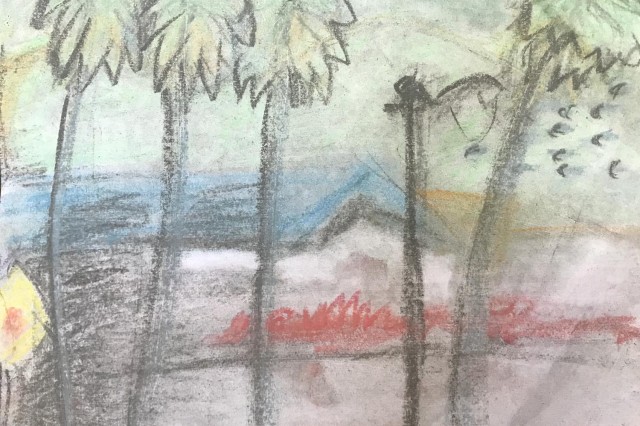
PLEIN AIR COLOR LANDSCAPES
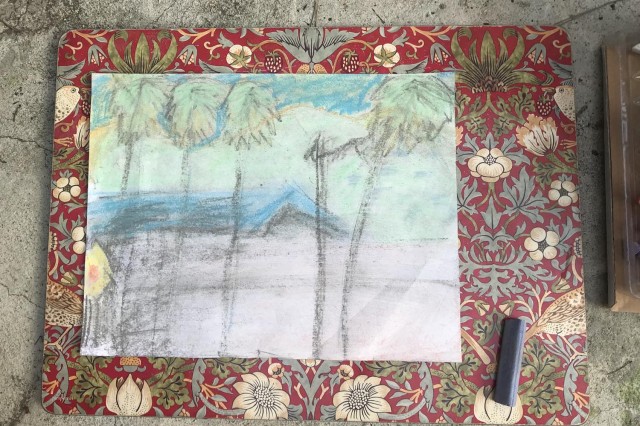
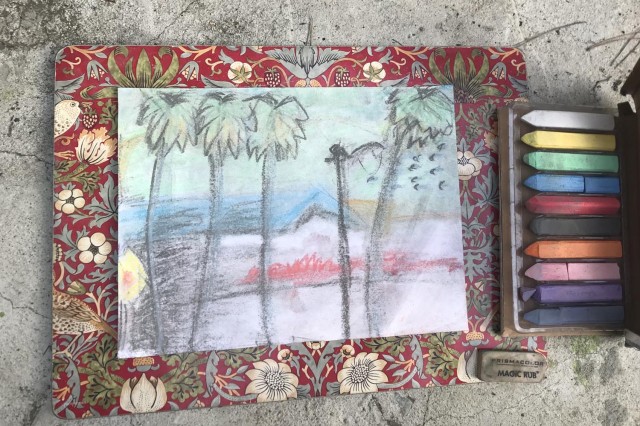
‘Plein Air’ is a french term meaning ‘open air’. Plein air painting has existed for centuries but it was made popular by the artistes of the impressionists movement in France in the 1860’s. It is a method of sketching and/or painting colorful landscapes while being outdoors. And just like the impressionist our main objective is to capture the constant shifting and play of light and color in the world around us.
Materials:
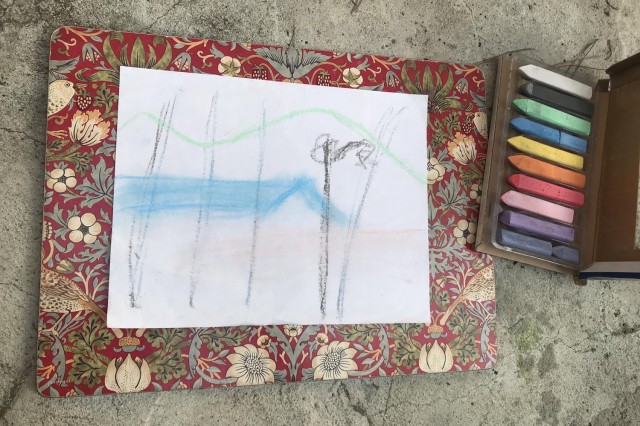
Colors, anything will do! (The example below is done with chalk)
- Paper (a loose sheet, or one in your journal)
- Firm surface (board or table)
- Any of these: crayons, chalk, pastels, colored pencils, markers, watercolors, paint.
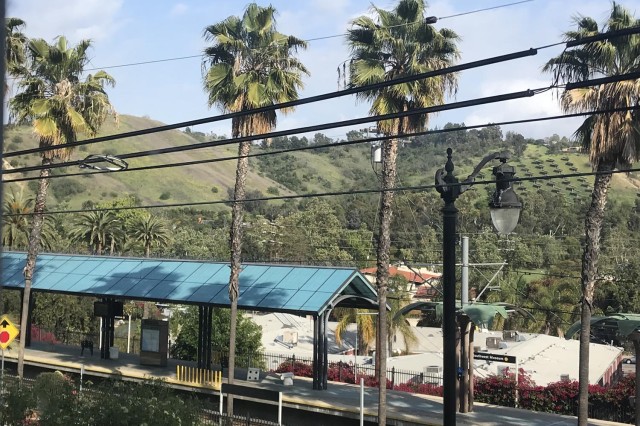
Step 1: For our purposes you do not need to be outdoors. A photo of a landscape from a magazine, a still frame from a nature documentary, or the view from any window will do.
Step 2: Take a moment to observe your landscape. What colors do you see? Choose the larger sections of color in your landscape. Place some colors on your paper or surface where you see them in the landscape or image. Don’t worry about details, go for blocks of color.
Step 3: Now try blending two different colors that are right next to each other. How do you blend? There is no right way to do it. With chalk you can use your finger to smudge the colors together. Colored pencils don’t really smudge, but will layer nicely. You can use an eraser to blend! If you’re using markers, try layering lighter colors first, then darker ones. Make up a new way to mix colors and keep experimenting!
Step 4: You are doing it! You are Plein Air painting with color and light! Try going darker. When you keep adding layers you add more depth to your landscape!
PLANT PIGMENTS
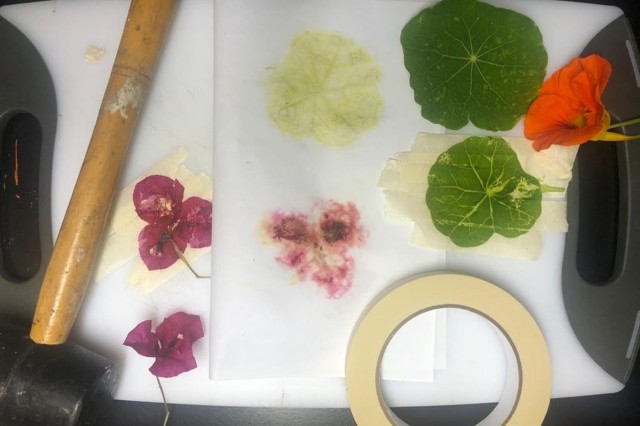
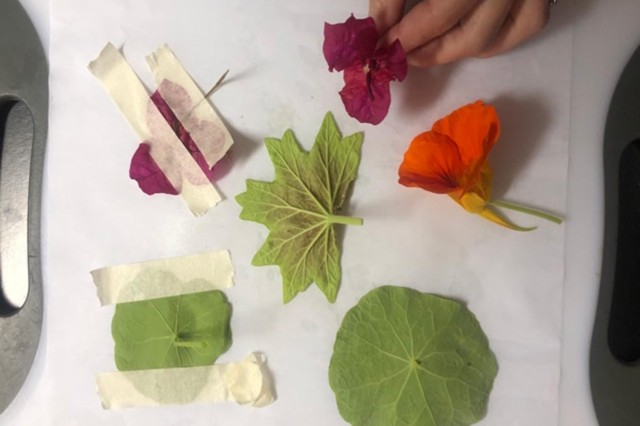
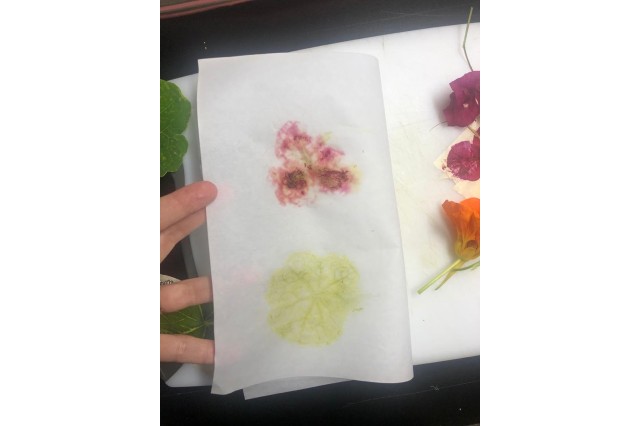
Pigment is what makes color. It can be created in many ways to make paints and dyes. Originally, it comes from the ground and plants. As you try this project, it is fun to imagine what it must have been like to be among the first humans to discover how to turn plain fabric more colorful with pigment from actual leaves and flowers. Choose healthy looking plants from outside, preferably ones that just fell to the ground. The images here use plants that are common in Los Angeles. One Bougainvillea flower and one leaf from a Nasturtium make a green and magenta pattern on paper. Approximate creating time (not counting growing the flower from seed!): 15 minutes
Materials:
- Plain Paper
- Plant material: flowers and leaves
- Water (to wet the paper)
- Masking tape
- Mallet or something with which to hammer (covered gently with washcloth)
- A cutting board or a safe surface upon which to hammer
Step 1: Collect your plant materials, whether it be in your garden or neighborhood. If you can’t go outside, get creative with kitchen scraps like an outdated spinach leaf or the leaves that come with carrots (or maybe a VERY thin peel of carrot, as thin as a leaf).
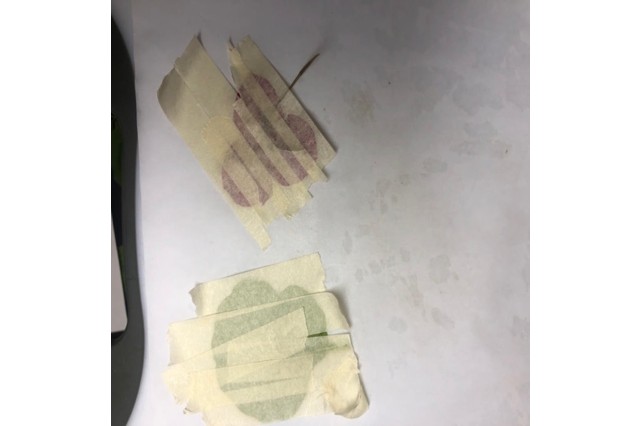
Step 2: Tape your plant(s) flat to a moistened piece of paper on your cutting board. Moisten your paper by running it under a water tap. Place the paper on a cutting board. Tape your plant(s) flat to the paper, covering them completely with tape. Although the paper is moist, the tape will still keep the plant in place.
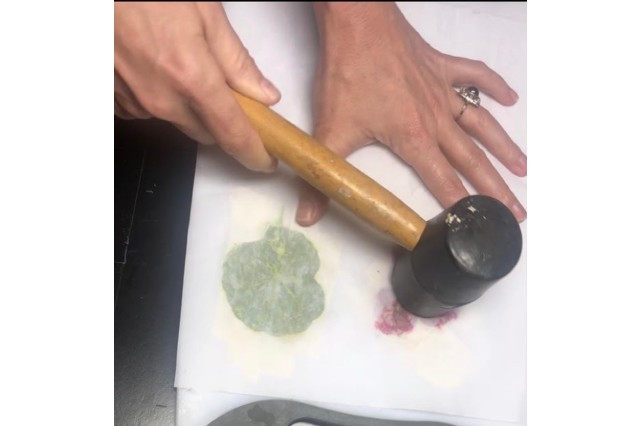
Step 3: Flip the paper over so that the tape side touches the board and hammer away. Hold the paper in place and hammer the plant area not your finger. Hammer gently enough to keep from ripping the paper, and hard enough to transfer the pigment. If a dog starts barking or your parent calls out “Hey! What’s that noise?!?” You’re doing it right.
Step 4: Beginning at the corner, gently and slowly peel the paper back to reveal the results. The tape usually falls away easily. Let the paper dry. If the tape is still too sticky or if the color didn’t transfer, try again with a moister piece of paper. If it all fell apart, try again with a less moist piece of paper.


